Full tutorial · Laravel 12 · Vue 3 · Sanctum · Socialite
Google Login with Laravel 12 + Vue 3
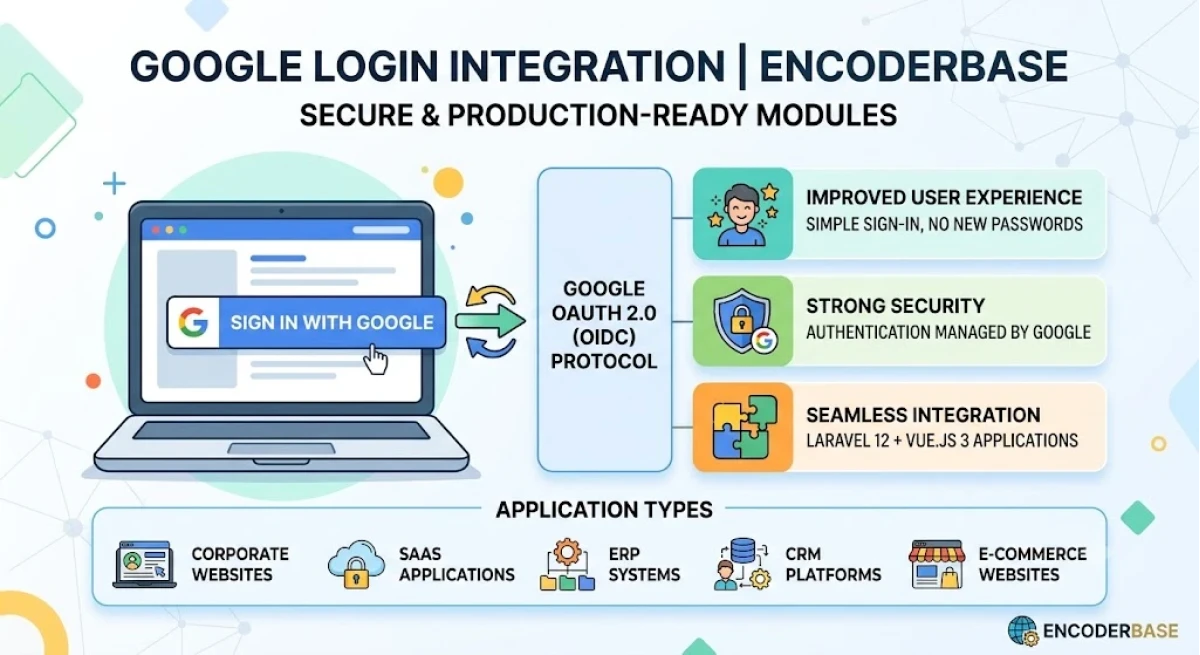
A decoupled SPA setup: Vue 3 renders Google's own sign-in button, Laravel verifies the identity token with Socialite, and Sanctum issues the API token that keeps the session alive.
Architecture overview
1. Vue 3 sends the user to Google's OAuth consent screen.
2. Google redirects back with an auth code, or issues an ID token directly.
3. Laravel exchanges it for the user's Google profile, via Socialite.
4. Laravel creates or logs in the user and returns a Sanctum token.
5. Vue stores the token and treats the user as authenticated.
Backend — Laravel
Step 01
Create the Laravel 12 project
composer create-project laravel/laravel google-login-backend
cd google-login-backend
Install Socialite and Sanctum:
composer require laravel/socialite
composer require laravel/sanctum
php artisan install:api
install:api in Laravel 12 sets up Sanctum, publishes config, and adds the api.php routes file if it's missing.
Step 02
Configure Google OAuth credentials
Go to Google Cloud Console → APIs & Services → Credentials → Create OAuth Client ID (Web application).
Authorized redirect URI:
http://localhost:8000/auth/google/callback
.env
GOOGLE_CLIENT_ID=your-client-id
GOOGLE_CLIENT_SECRET=your-client-secret
GOOGLE_REDIRECT_URI=http://localhost:8000/auth/google/callback

FRONTEND_URL=http://localhost:5173
SESSION_DOMAIN=localhost
SANCTUM_STATEFUL_DOMAINS=localhost:5173
config/services.php
'google' => [
    'client_id' => env('GOOGLE_CLIENT_ID'),
    'client_secret' => env('GOOGLE_CLIENT_SECRET'),
    'redirect' => env('GOOGLE_REDIRECT_URI'),
],
Step 03
Update the user migration
Add a google_id column and make password nullable, since social users won't have one.
php artisan make:migration add_google_id_to_users_table --table=users
public function up(): void
{
    Schema::table('users', function (Blueprint $table) {
        $table->string('google_id')->nullable()->after('id');
        $table->string('avatar')->nullable();
        $table->string('password')->nullable()->change();
    });
}
php artisan migrate
Step 04
Create the auth controller
php artisan make:controller Auth/GoogleAuthController
app/Http/Controllers/Auth/GoogleAuthController.php
<?php

namespace App\Http\Controllers\Auth;

use App\Http\Controllers\Controller;
use App\Models\User;
use Illuminate\Http\Request;
use Illuminate\Support\Facades\Hash;
use Illuminate\Support\Str;
use Laravel\Socialite\Facades\Socialite;

class GoogleAuthController extends Controller
{
    // Step 1: Redirect to Google
    public function redirect()
    {
        return Socialite::driver('google')
            ->stateless()
            ->redirect();
    }

    // Step 2: Handle Google callback
    public function callback(Request $request)
    {
        try {
            $googleUser = Socialite::driver('google')->stateless()->user();
        } catch (\Exception $e) {
            return redirect(env('FRONTEND_URL') . '/login?error=google_auth_failed');
        }

        $user = User::updateOrCreate(
            ['email' => $googleUser->getEmail()],
            [
                'name' => $googleUser->getName(),
                'google_id' => $googleUser->getId(),
                'avatar' => $googleUser->getAvatar(),
                'password' => Hash::make(Str::random(24)),
                'email_verified_at' => now(),
            ]
        );

        $token = $user->createToken('google-auth-token')->plainTextToken;

        return redirect(env('FRONTEND_URL') . '/auth/callback?token=' . $token);
    }

    // Optional: accept an ID token from a frontend Google button
    public function loginWithIdToken(Request $request)
    {
        $request->validate(['id_token' => 'required|string']);

        $googleUser = Socialite::driver('google')
            ->stateless()
            ->userFromToken($request->id_token);

        $user = User::updateOrCreate(
            ['email' => $googleUser->getEmail()],
            [
                'name' => $googleUser->getName(),
                'google_id' => $googleUser->getId(),
                'avatar' => $googleUser->getAvatar(),
                'password' => Hash::make(Str::random(24)),
                'email_verified_at' => now(),
            ]
        );

        return response()->json([
            'token' => $user->createToken('google-auth-token')->plainTextToken,
            'user' => $user,
        ]);
    }

    public function user(Request $request)
    {
        return response()->json($request->user());
    }

    public function logout(Request $request)
    {
        $request->user()->currentAccessToken()->delete();
        return response()->json(['message' => 'Logged out']);
    }
}
Two approaches are shown above. The redirect flow (redirect / callback) does a full-page redirect to Google — simple, works everywhere. The ID token flow (loginWithIdToken) works with Google's own JS button rendered directly inside Vue, no redirect needed — this is the smoother SPA approach and the one the frontend below is built around.
Step 05
Routes
routes/web.php — for the redirect flow
use App\Http\Controllers\Auth\GoogleAuthController;

Route::get('/auth/google/redirect', [GoogleAuthController::class, 'redirect']);
Route::get('/auth/google/callback', [GoogleAuthController::class, 'callback']);
routes/api.php — for the ID token flow and protected routes
use App\Http\Controllers\Auth\GoogleAuthController;

Route::post('/auth/google', [GoogleAuthController::class, 'loginWithIdToken']);

Route::middleware('auth:sanctum')->group(function () {
    Route::get('/user', [GoogleAuthController::class, 'user']);
    Route::post('/logout', [GoogleAuthController::class, 'logout']);
});
Step 06
CORS configuration
config/cors.php
'paths' => ['api/*', 'sanctum/csrf-cookie'],
'allowed_origins' => [env('FRONTEND_URL', 'http://localhost:5173')],
'supports_credentials' => true,
Run the backend:
php artisan serve
Frontend — Vue
Step 07
Create the Vue 3 frontend
npm create vite@latest google-login-frontend -- --template vue
cd google-login-frontend
npm install
npm install axios vue-router pinia
Step 08
Axios setup
src/lib/axios.js
import axios from 'axios'

const api = axios.create({
  baseURL: 'http://localhost:8000/api',
})

api.interceptors.request.use((config) => {
  const token = localStorage.getItem('token')
  if (token) config.headers.Authorization = `Bearer ${token}`
  return config
})

export default api
Step 09
Load the Google Identity Services script
index.html
<head>
  ...
  <script src="https://accounts.google.com/gsi/client" async defer></script>
</head>
Step 10
Auth store (Pinia)
src/stores/auth.js
import { defineStore } from 'pinia'
import api from '@/lib/axios'

export const useAuthStore = defineStore('auth', {
  state: () => ({
    user: JSON.parse(localStorage.getItem('user')) || null,
    token: localStorage.getItem('token') || null,
  }),
  actions: {
    async loginWithGoogle(idToken) {
      const { data } = await api.post('/auth/google', { id_token: idToken })
      this.setSession(data.token, data.user)
    },
    setSession(token, user) {
      this.token = token
      this.user = user
      localStorage.setItem('token', token)
      localStorage.setItem('user', JSON.stringify(user))
    },
    async fetchUser() {
      const { data } = await api.get('/user')
      this.user = data
      localStorage.setItem('user', JSON.stringify(data))
    },
    async logout() {
      await api.post('/logout')
      this.token = null
      this.user = null
      localStorage.removeItem('token')
      localStorage.removeItem('user')
    },
  },
})
Step 11
Login component — Google button
src/components/GoogleLoginButton.vue
<template>
  <div id="google-signin-button"></div>
</template>

<script setup>
import { onMounted } from 'vue'
import { useAuthStore } from '@/stores/auth'
import { useRouter } from 'vue-router'

const auth = useAuthStore()
const router = useRouter()

const GOOGLE_CLIENT_ID = 'YOUR_GOOGLE_CLIENT_ID.apps.googleusercontent.com'

async function handleCredentialResponse(response) {
  try {
    await auth.loginWithGoogle(response.credential)
    router.push('/dashboard')
  } catch (e) {
    console.error('Google login failed', e)
  }
}

onMounted(() => {
  window.google.accounts.id.initialize({
    client_id: GOOGLE_CLIENT_ID,
    callback: handleCredentialResponse,
  })

  window.google.accounts.id.renderButton(
    document.getElementById('google-signin-button'),
    { theme: 'outline', size: 'large', width: 280 }
  )
})
</script>
Important: response.credential is a Google ID token, a JWT — exactly what Socialite::driver('google')->userFromToken() expects on the backend.
Step 12
Login page
src/views/Login.vue
<template>
  <div class="login-page">
    <h1>Sign in</h1>
    <GoogleLoginButton />
  </div>
</template>

<script setup>
import GoogleLoginButton from '@/components/GoogleLoginButton.vue'
</script>
Step 13
Router with auth guard
src/router/index.js
import { createRouter, createWebHistory } from 'vue-router'
import { useAuthStore } from '@/stores/auth'
import Login from '@/views/Login.vue'
import Dashboard from '@/views/Dashboard.vue'

const routes = [
  { path: '/login', component: Login },
  { path: '/dashboard', component: Dashboard, meta: { requiresAuth: true } },
]

const router = createRouter({
  history: createWebHistory(),
  routes,
})

router.beforeEach((to) => {
  const auth = useAuthStore()
  if (to.meta.requiresAuth && !auth.token) {
    return '/login'
  }
})

export default router
Step 14
Dashboard — protected page
src/views/Dashboard.vue
<template>
  <div v-if="auth.user">
    <img :src="auth.user.avatar" width="60" />
    <h2>Welcome, {{ auth.user.name }}</h2>
    <p>{{ auth.user.email }}</p>
    <button @click="logout">Logout</button>
  </div>
</template>

<script setup>
import { onMounted } from 'vue'
import { useAuthStore } from '@/stores/auth'
import { useRouter } from 'vue-router'

const auth = useAuthStore()
const router = useRouter()

onMounted(() => {
  if (!auth.user) auth.fetchUser()
})

async function logout() {
  await auth.logout()
  router.push('/login')
}
</script>
Step 15
main.js
src/main.js
import { createApp } from 'vue'
import { createPinia } from 'pinia'
import App from './App.vue'
import router from './router'

createApp(App).use(createPinia()).use(router).mount('#app')
Run the frontend:
npm run dev
Verify
Step 16
Testing the flow
1. Visit http://localhost:5173/login
2. Click the Google button, then pick an account
3. Google returns an ID token to the Vue callback
4. Vue sends it to POST /api/auth/google
5. Laravel verifies it via Socialite, creates or finds the user, returns a Sanctum token
6. Vue stores the token and redirects to /dashboard
7. Dashboard calls GET /api/user with Authorization: Bearer <token> to confirm auth
Notes and gotchas
->stateless() is required for Socialite in API/SPA contexts, since there's no shared session between Laravel and a separately-hosted Vue app.
Prefer cookie-based Sanctum SPA auth instead of bearer tokens? Call /sanctum/csrf-cookie first and rely on SANCTUM_STATEFUL_DOMAINS, keeping frontend and backend on the same top-level domain in production. The token approach above is simpler when they're fully decoupled or on different domains.
In production, restrict Google's "Authorized JavaScript origins" and "Authorized redirect URIs" to your real domains.
Security: never expose GOOGLE_CLIENT_SECRET to the frontend. Only GOOGLE_CLIENT_ID is public.