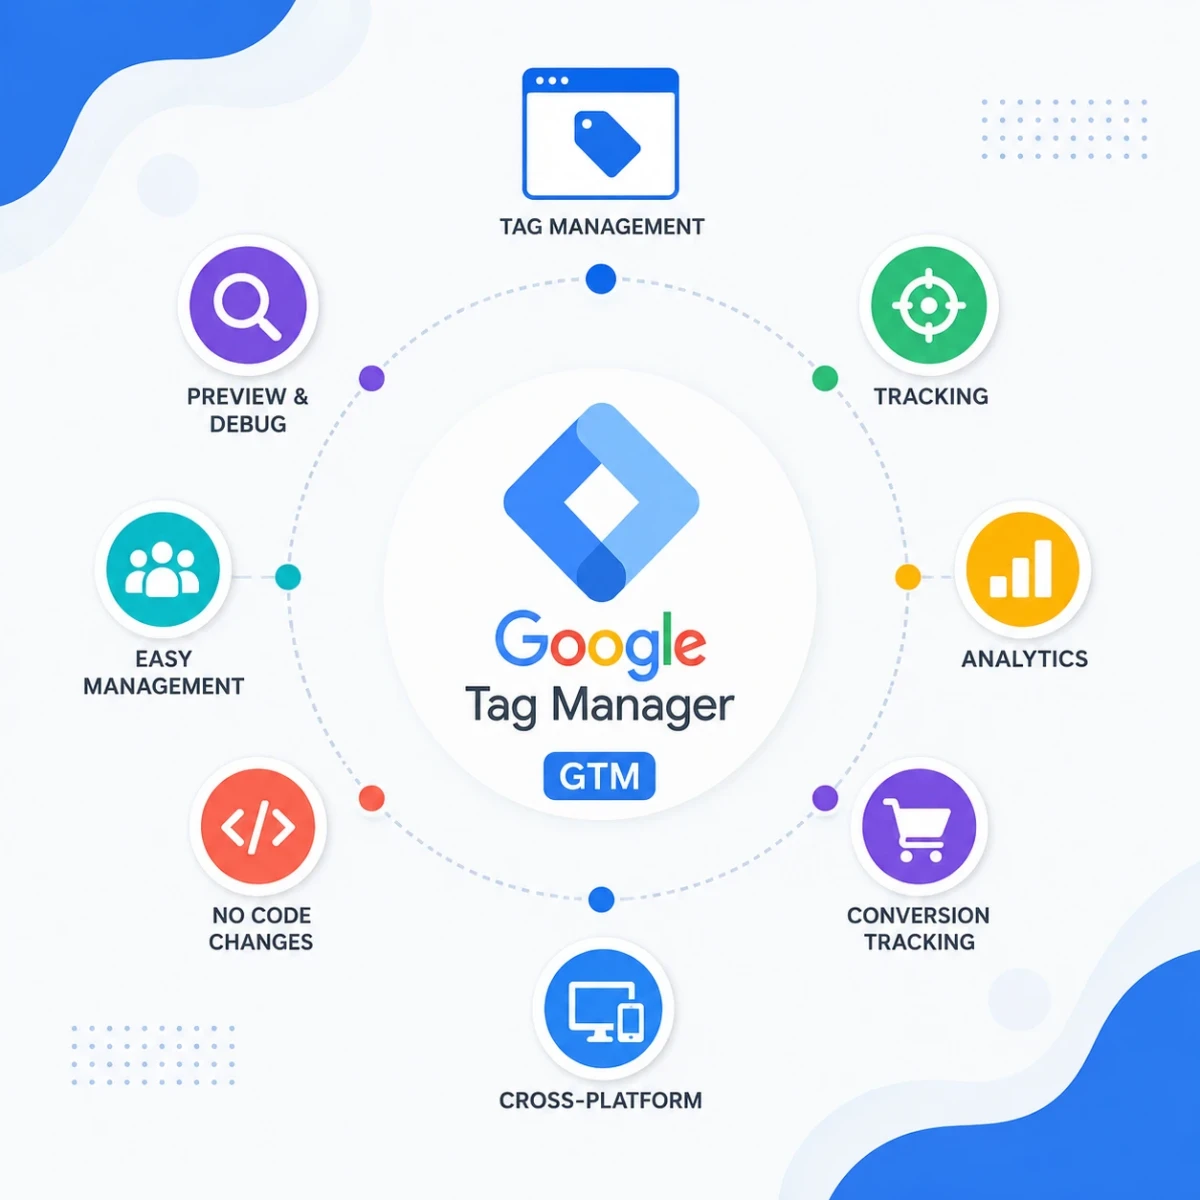
Google Tag Manager (GTM) with Laravel API Tutorial
This tutorial explains how to integrate Google Tag Manager into a Laravel application and send custom events to GTM from a Laravel API backend.
1. Create a GTM Account and Container
Go to tagmanager.google.com and create a new account. Choose "Web" as the target platform. After creating the container, GTM will give you a Container ID that looks like GTM-XXXXXXX. Copy this ID, you will need it in your Laravel views.
2. Install GTM Script in Laravel Blade Layout
Open your main layout file, usually resources/views/layouts/app.blade.php, and add the GTM script inside the head tag, and the noscript tag right after the opening body tag.
<head>
    <script>
    (function(w,d,s,l,i){w[l]=w[l]||[];w[l].push({'gtm.start':
    new Date().getTime(),event:'gtm.js'});var f=d.getElementsByTagName(s)[0],
    j=d.createElement(s),dl=l!='dataLayer'?'&l='+l:'';j.async=true;j.src=
    'https://www.googletagmanager.com/gtm.js?id='+i+dl;f.parentNode.insertBefore(j,f);
    })(window,document,'script','dataLayer','GTM-XXXXXXX');
    </script>
</head>
<body>
    <noscript><iframe src="https://www.googletagmanager.com/ns.html?id=GTM-XXXXXXX"
    height="0" width="0" style="display:none;visibility:hidden"></iframe></noscript>
3. Store GTM ID in Laravel Config
Instead of hardcoding the GTM ID, store it in your .env file and access it through a config file.
// .env
GTM_ID=GTM-XXXXXXX

// config/services.php
'gtm' => [
    'id' => env('GTM_ID'),
],
Then use it in Blade like this.
'GTM-XXXXXXX' -> '{{ config('services.gtm.id') }}'
4. Push Custom Events from Laravel Views
You can push data to the dataLayer directly from Blade views after certain actions, such as a completed order.
<script>
window.dataLayer = window.dataLayer || [];
dataLayer.push({
    'event': 'purchase',
    'order_id': '{{ $order->id }}',
    'total': '{{ $order->total }}'
});
</script>
5. Create a Laravel API Endpoint to Log Events
Sometimes you want to record the same event on your server, for example to keep an internal log or forward it to GTM Server-Side. Create a route and controller for this.
// routes/api.php
Route::post('/gtm/track', [GtmController::class, 'track']);
// app/Http/Controllers/GtmController.php
class GtmController extends Controller
{
    public function track(Request $request)
    {
        $validated = $request->validate([
            'event' => 'required|string',
            'order_id' => 'nullable|string',
            'total' => 'nullable|numeric',
        ]);

        Log::info('GTM Event Received', $validated);

        return response()->json(['status' => 'ok']);
    }
}
6. Call the API from JavaScript
Use fetch to send the event data to your Laravel API at the same time it is pushed to the dataLayer.
fetch('/api/gtm/track', {
    method: 'POST',
    headers: {
        'Content-Type': 'application/json',
        'X-CSRF-TOKEN': document.querySelector('meta[name="csrf-token"]').content
    },
    body: JSON.stringify({
        event: 'purchase',
        order_id: '{{ $order->id }}',
        total: '{{ $order->total }}'
    })
});
7. Set Up a Trigger and Tag in GTM
Inside the GTM interface, create a new Custom Event trigger with the event name purchase. Then create a Google Analytics 4 Event tag connected to this trigger, mapping order_id and total as event parameters.
8. Test with GTM Preview Mode
Click Preview in GTM, enter your Laravel app URL, and perform the action that triggers the event. Check the Tag Assistant panel to confirm the dataLayer push and tag firing are working correctly.
9. Publish the Container
Once testing is successful, click Submit and then Publish in GTM to push the changes live.