Step 1: Set up Google API credentials
- Go to Google Cloud Console.
- Create a new project.
- Go to APIs & Services → Credentials → OAuth 2.0 Client IDs → Create Credentials.
- Choose Web Application.
- Add authorized redirect URIs (we’ll handle via frontend or API):
- For development: http://localhost:8080
- For production: https://yourdomain.com
- Copy your Client ID and Client Secret.
Step 2: Install Laravel Socialite
composer require laravel/socialite
Then in config/services.php:
'google' => [
    'client_id' => env('GOOGLE_CLIENT_ID'),
    'client_secret' => env('GOOGLE_CLIENT_SECRET'),
    'redirect' => env('GOOGLE_REDIRECT_URL'), // Not always used for SPA
],
In your .env file:
GOOGLE_CLIENT_ID=your_google_client_id
GOOGLE_CLIENT_SECRET=your_google_client_secret
GOOGLE_REDIRECT_URL=http://localhost:8000/api/auth/google/callback
Step 3: Create API routes in Laravel
In routes/api.php:
use App\Http\Controllers\Auth\GoogleAuthController;

Route::post('auth/google', [GoogleAuthController::class, 'login']);
Step 4: Create GoogleAuthController
<?php

namespace App\Http\Controllers\Auth;

use App\Http\Controllers\Controller;
use Illuminate\Http\Request;
use Laravel\Socialite\Facades\Socialite;
use App\Models\User;
use Illuminate\Support\Facades\Hash;
use Illuminate\Support\Str;

class GoogleAuthController extends Controller
{
    public function login(Request $request)
    {
        $token = $request->token;

        // Get user info from Google
        $googleUser = Socialite::driver('google')->stateless()->userFromToken($token);

        // Check if user exists
        $user = User::where('email', $googleUser->getEmail())->first();

        if (!$user) {
            // Register new user
            $user = User::create([
                'name' => $googleUser->getName(),
                'email' => $googleUser->getEmail(),
                'password' => Hash::make(Str::random(16)), // Random password
            ]);
        }

        // Generate token (using Laravel Sanctum or Passport)
        $token = $user->createToken('API Token')->plainTextToken;

        return response()->json([
            'user' => $user,
            'token' => $token,
        ]);
    }
}
✅ Notes:
- stateless() is used for API-based auth (no session/cookies).
- You can use Sanctum or Passport for API token management.
Step 5: Install Google API client on frontend (Vue 3)
Install Google Identity SDK:
npm install @react-oauth/google
Or use Google OAuth 2.0 via Google API script:
<script src="https://accounts.google.com/gsi/client" async defer></script>
Step 6: Create Vue 3 component for login
Example GoogleLogin.vue:
<template>
  <div>
    <div id="g_id_onload"
         data-client_id="YOUR_GOOGLE_CLIENT_ID"
         data-login_uri=""
         data-auto_prompt="false">
    </div>
    <div class="g_id_signin"
         data-type="standard"
         data-size="large"
         data-theme="outline"
         data-text="signin_with"
         data-shape="rectangular"
         data-logo_alignment="left">
    </div>
  </div>
</template>

<script>
export default {
  mounted() {
    window.handleCredentialResponse = (response) => {
      // Send the Google token to Laravel API
      this.googleLogin(response.credential);
    };
  },
  methods: {
    async googleLogin(token) {
      try {
        const res = await fetch('http://localhost:8000/api/auth/google', {
          method: 'POST',
          headers: {
            'Content-Type': 'application/json'
          },
          body: JSON.stringify({ token })
        });

        const data = await res.json();
        console.log('Logged in user:', data);
        // Save token in localStorage or Pinia
        localStorage.setItem('token', data.token);
      } catch (err) {
        console.error(err);
      }
    }
  }
}
</script>
Step 7: Configure Laravel Sanctum (optional)
If you use Laravel Sanctum for SPA authentication:
composer require laravel/sanctum
php artisan vendor:publish --provider="Laravel\Sanctum\SanctumServiceProvider"
php artisan migrate
In config/sanctum.php, allow your frontend domain:
'stateful' => explode(',', env('SANCTUM_STATEFUL_DOMAINS', 'localhost:8080')),
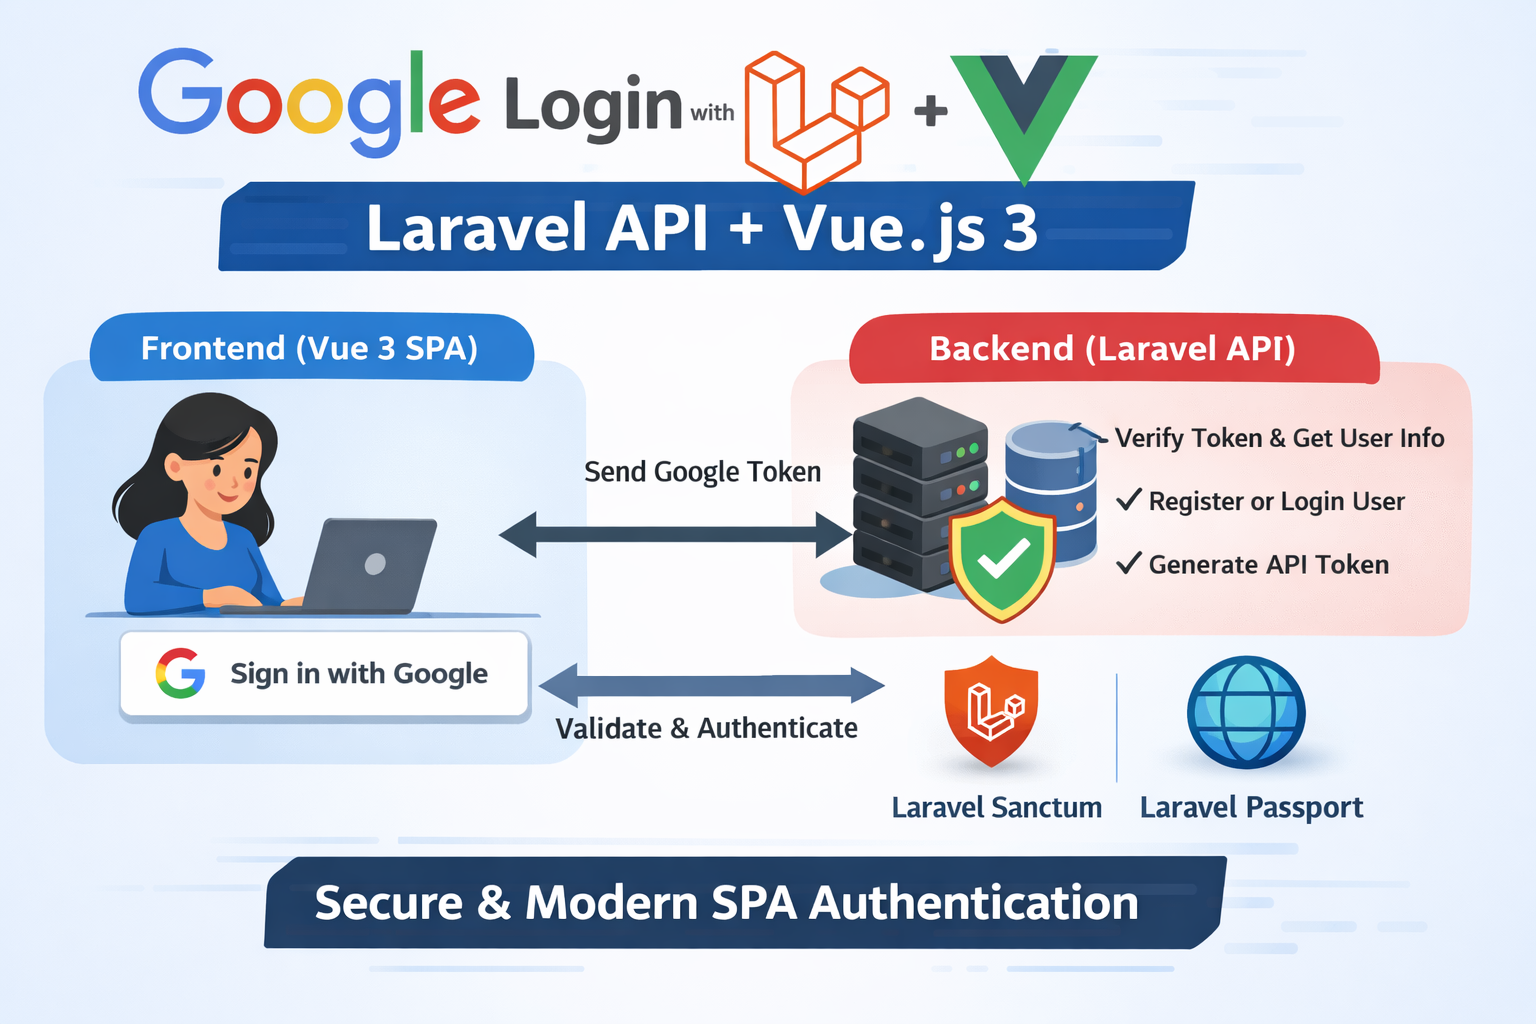
✅ Workflow Summary
- User clicks Sign in with Google on Vue 3.
- Google returns a JWT token.
- Frontend sends this token to Laravel API.
- Laravel:
- Fetches user info from Google
- Creates new user if not exists
- Returns API token (Sanctum/Passport)
- Frontend stores token and authenticates API requests.