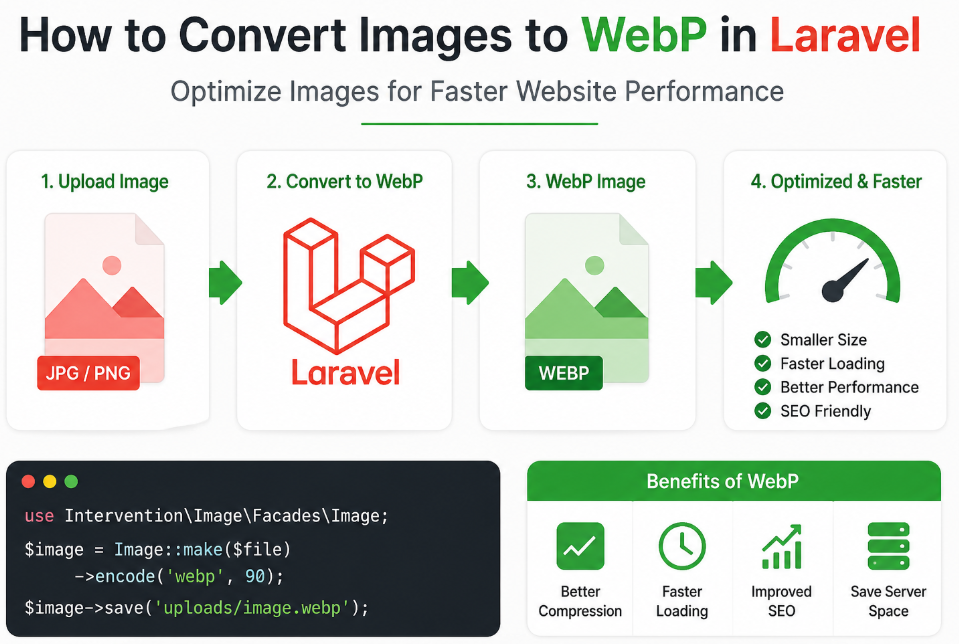
Website speed plays a critical role in user experience and search engine ranking. One of the easiest ways to improve performance is by optimizing images. WebP is a modern image format that provides superior compression while maintaining high quality. In this guide, you will learn how to convert images to WebP in Laravel efficiently.
Using Intervention Image (Recommended)
Install package
composer require intervention/image
Laravel 9+ auto-discovers it. If not:
'providers' => [
    Intervention\Image\ImageServiceProvider::class,
],
Create Upload + Convert Logic
Controller Example
use Illuminate\Http\Request;
use Intervention\Image\Facades\Image;
use Illuminate\Support\Str;

public function upload(Request $request)
{
    $request->validate([
        'image' => 'required|image|mimes:jpeg,png,jpg|max:2048'
    ]);

    $file = $request->file('image');

    // Generate filename
    $filename = Str::random(20) . '.webp';

    // Convert to WebP
    $image = Image::make($file)
        ->encode('webp', 90); // quality: 0–100

    // Save
    $path = public_path('uploads/webp/' . $filename);
    $image->save($path);

    return response()->json([
        'message' => 'Image uploaded and converted to WebP',
        'file' => 'uploads/webp/' . $filename
    ]);
}
Create Folder
public/uploads/webp
Blade Form
<form action="{{ route('upload') }}" method="POST" enctype="multipart/form-data">
    @csrf
    <input type="file" name="image">
    <button type="submit">Upload</button>
</form>
Auto Convert + Keep Original
$originalName = time() . '.' . $file->getClientOriginalExtension();
$file->move(public_path('uploads/original'), $originalName);

// Convert
$webpName = pathinfo($originalName, PATHINFO_FILENAME) . '.webp';

Image::make(public_path('uploads/original/' . $originalName))
    ->encode('webp', 85)
    ->save(public_path('uploads/webp/' . $webpName));
Use Storage (Better Practice)
use Illuminate\Support\Facades\Storage;

$filename = Str::random(20) . '.webp';

$image = Image::make($file)->encode('webp', 90);

Storage::disk('public')->put('webp/' . $filename, $image);
Run:
php artisan storage:link